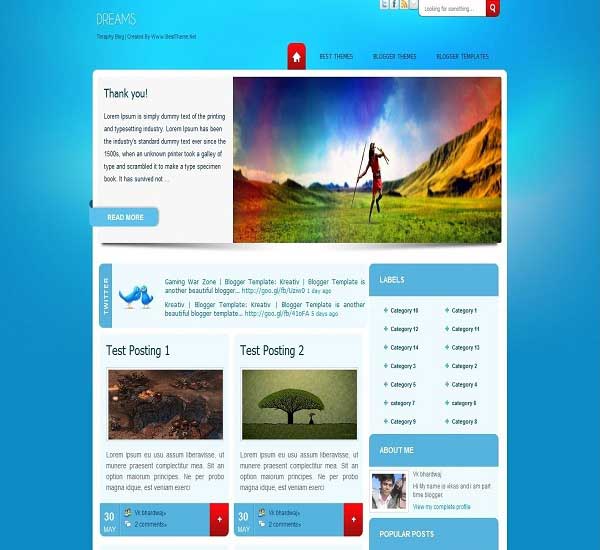
After Simplex News,this is my second template for magazine .I named it Simplex Worldnews . It's a clear and eye-catching template ,designed base on grid .And it's easier to install and use than Simplex News .
This template support page function ,a new function of blogger ,it also reduce loading time and add more space to create ads and widget . You can adjust ,modify or remove existing widgets ,and you can add your own .
Now ,let's take a look on it

Note : There's an error with this template .When change url link in template file ,the right sidebar is moved to the left .I tried to fix this template ,and edited download link to newer version in this post . With this version ,you don't need to change url in template file ,it can get blog url automatically ,so you can configure for sections in homepage at Page elements
Install instruction for this template :
1,Download this template and unzip it .You get a template file in xml format and a folder of images .You can upload images in folder to a hosting service and change link of images in template file accordingly .
2,Upload this template to Blogger .
3,Go to Page elements :

4,To add logo ,click on edit link at logo widget and add your logo links like this :
 logo should be 300x90 for the best appearance in template .
5,To add banner ,click edit link at banner widget and paste your ads code .Ads code could be adsense code ,code for images ads...
6,To add menu ,click edit link at menu widget and add link to menu . You can link to category in your blog or any outside link .
7,To show recent posts in categories in homepage (in live demo ,I showed the categories :world ,us ,health...) ,click on edit button at HTML/Javascript widget and enter content in structure below :
Widget title : enter the text you want to show in homepage to describe the category
widget content : enter the category (label) you want to show recent posts in .
For example ,I want to show recent posts under World label (category) ,I click on edit link in HTML/Javascript widget ,and enter the text in widget title :World and enter the text in widget content : world
.And you can see the result in Live demo: Recent posts under World label are shown .
8, In the sidebar ,paste the ads content for ads widget . Paste the video embed code for video widget .
9,Do as step 7 for left widget in sidebar .
10,Pages widget and footerpages widget don't need to install because it can get name and link to pages in your blog automatically .You can create page in Blogger Draft mode .
11,There are many "add a widget" link ,so you can add as many widget as you want to enhance blog operation .
12,This template can get feed link automatically ,so you don't need to change link in template file .
I hope you like this product of mine . Feel free to make question or comments here .
Enjoy it ^^
Read more »
This template support page function ,a new function of blogger ,it also reduce loading time and add more space to create ads and widget . You can adjust ,modify or remove existing widgets ,and you can add your own .
Now ,let's take a look on it

Install instruction for this template :
1,Download this template and unzip it .You get a template file in xml format and a folder of images .You can upload images in folder to a hosting service and change link of images in template file accordingly .
2,Upload this template to Blogger .
3,Go to Page elements :

4,To add logo ,click on edit link at logo widget and add your logo links like this :
5,To add banner ,click edit link at banner widget and paste your ads code .Ads code could be adsense code ,code for images ads...
6,To add menu ,click edit link at menu widget and add link to menu . You can link to category in your blog or any outside link .
7,To show recent posts in categories in homepage (in live demo ,I showed the categories :world ,us ,health...) ,click on edit button at HTML/Javascript widget and enter content in structure below :
Widget title : enter the text you want to show in homepage to describe the category
widget content : enter the category (label) you want to show recent posts in .
For example ,I want to show recent posts under World label (category) ,I click on edit link in HTML/Javascript widget ,and enter the text in widget title :World and enter the text in widget content : world
.And you can see the result in Live demo: Recent posts under World label are shown .
8, In the sidebar ,paste the ads content for ads widget . Paste the video embed code for video widget .
9,Do as step 7 for left widget in sidebar .
10,Pages widget and footerpages widget don't need to install because it can get name and link to pages in your blog automatically .You can create page in Blogger Draft mode .
11,There are many "add a widget" link ,so you can add as many widget as you want to enhance blog operation .
12,This template can get feed link automatically ,so you don't need to change link in template file .
I hope you like this product of mine . Feel free to make question or comments here .
Enjoy it ^^
Source: simplexdesign.blogspot.com

 Now goto PHPMyadmin homepage with the help home icon on top left. Click on “Privileges” link on the homepage below the create database section. Now Click “Add a user” link in the Privileges page.
 Now in Add new user page Choose your desired database Username and Password. Choose Local as your host. Check “Grand all Privileges…” for database for user and remember to Check all the Global privileges and Click Go at bottom right.

 On the next page it will show that your wordpress site has made communication with the database. If it shows then Click on “Run and Install” button and if it show some errors then check your wordpress installation from Step 1.
 Now your WordPress installed is completed Successfully after you see this page with Success message.
 Well done, now you can try wordpress installing in your windows local host with the help of Wamp Server application without any domain name and web hosting.